
Green Building Advisor - Wildfire Resilience: Wall-to-Roof Connection
January 28, 2026, by Joshua Salinger
This is part 2 of the Energy Smart Details series where we are examining three critical details from Evan and Linda’s fire rebuild on the Clackamas River just outside Portland, Ore. You can read part 1 here, along with the lead-in to the series here.
Warm air is more buoyant than cold air, so as it rises inside a building it creates higher pressure at the ceiling plane. This driving force, known as stack effect, can push air through any hole, crack, or gap in that location. That’s why it’s critical to establish a continuous air control layer as we transition from wall to roof or ceiling—to prevent energy losses, moisture problems, ice dams, and other durability issues.
In an average 2,500-sq.-ft. home, the structure has about 8-mi of cracks, or the equivalent of a 3-ft. by 3-ft. hole. Clearly, a well-executed ceiling air barrier is important. However, it can be difficult to navigate the potential origami of top plates, rafters, ties, blocking, and other hardware that are found in this spot. In addition, ceiling lighting, interior partition walls, HVAC penetrations, plumbing penetrations, etc., contribute to the challenge. When building in the WUI, this condition is further complicated as we need to avoid sucking in hot gasses, flames or embers during a wildfire event through outside vents, cracks or gaps, which could ignite a building.
Thermal strategy
From a thermal perspective, the use of raised-heel trusses mitigates a thermal bridge at the roof perimeter and keeps the top plate from becoming a pathway for energy transfer, which can lead to energy losses or durability issues. Additionally, the use of exterior insulation running up and past the top plate up to the truss tails can help protect this critical juncture from hot or cold exterior temperatures, further increasing durability and comfort in a building. When paired with a fire-resistive exterior insulation, this can provide a good resilience strategy as well.
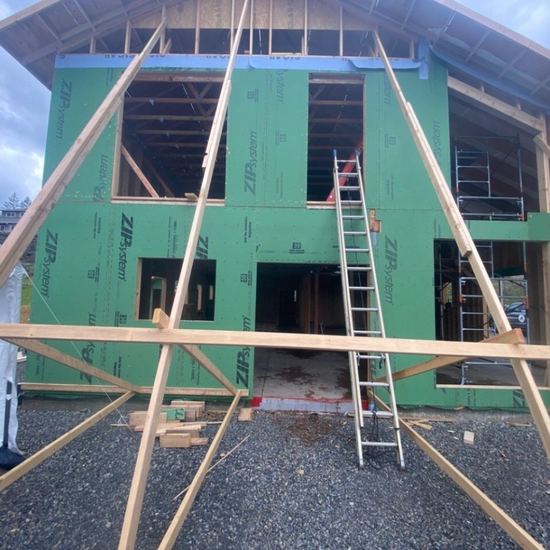
Construction sequencing
One common way to create a continuous air barrier at the wall‑to‑ceiling transition is to shift from the exterior sheathing to an interior membrane on the truss bottom chord. In this project, the exterior air barrier is taped Zip System OSB, and the interior air barrier is a Siga Majrex variable‑permeance membrane on the bottom chord.
The sequence changes slightly from typical framing. After standing the walls—but before setting the trusses—we wrapped a strip of Siga Majvest SA 500 over the top of the wall. We adhered it to the exterior Zip, rolled it for good contact, and trimmed it so it turned down about 1 in. onto the interior face of the top plate. This extra step took one person roughly an hour to complete. The Majvest is durable enough to tolerate trusses being landed and slid into position, as well as framers walking the plates.
To avoid dozens of small air leaks, we requested our engineer replace the standard H2.5 hurricane ties with a truss‑lock screw driven from the exterior, through the sheathing and top plates into the truss. This eliminated the need to tape around metal hardware at every truss location and proved faster to install, effectively offsetting the time spent on the SA strip. Prior to completing our air barrier, we installed all the bird blocking and rat runs between the trusses per the truss engineer’s specs. We then installed 2×2 nailers at the sheathing and blocking planes for a 1/4-in. plywood baffle. This took readily available materials, installed production style, to create a 1-1/2-in. vent cavity that is more robust and effective than the flimsy foam baffles that are commonly used and only allow for 1 in. of ventilation.
Once this was complete, we attached the interior Majrex membrane to the truss bottoms and taped it to the turned‑down Majvest SA with Siga Rissan tape, creating a continuous, robust air barrier at the lid. Per the manufacturer’s specifications, we installed 2x4s perpendicular to the trusses, which protects the membrane, allows for a nice thick pile of cellulose blown in on top without worry of bulging or tear-outs causing an issue, and also creates a space for wiring and LED pancake-style can lights without compromising our air control.
Fire resilience at the eaves
The main fire‑resilience feature at the eaves—beyond the fire‑resistant cork, continuous air barrier, and borate‑treated cellulose insulation—was the use of Vulcan Vents on the underside of the overhangs. These vents use a stainless‑steel mesh to block wind‑driven embers from entering the vent space, which is critical because embers can travel miles ahead of the main wildfire front. The vents also contain an aluminum honeycomb core coated with an intumescent material that expands at a critical temperature and seals the openings, effectively blocking flames and hot gases that could otherwise ignite the roof assembly. During normal conditions, they provide ample airflow to keep the roof sheathing dry and durable. If a fire event does trigger the intumescent coating, the vents would need replacement, but that outcome is far preferable to losing the structure.
We also used fiber‑cement panels at the eaves as an additional fire‑resistant material. To simplify installation and stiffen the overhangs, we installed three 2x4s on the flat, which allowed us to shim out irregular truss tails, run a continuous vent, and provide solid nailing at panel edges. This approach reduced waviness in the fiber‑cement soffits and produced a cleaner, more durable assembly.
Results
The final product ended up looking sturdy, flat, and level. The team was happy with the installation and the crisp lines of the Vulcan vents and the fiber-cement panels. We were able to mitigate all significant thermal bridges at this location and make a nice airtight assembly, with the final blower door coming in at 0.041 cfm/sq. ft. enclosure, which was well below the Phius requirements. The added time and materials for insulation baffles and upgraded components represented a modest premium, but for a custom “forever” home in the WUI, that investment felt justified. Just as important, everyone on the crew knew they were delivering a house intentionally designed and built to keep its owners safer, more comfortable, and better protected in a high‑risk landscape.
Josh Salinger is the founder and CEO of Birdsmouth Design-Build, a residential construction company in Portland, Ore.